How to make Range Hood That Stands out on a Budget
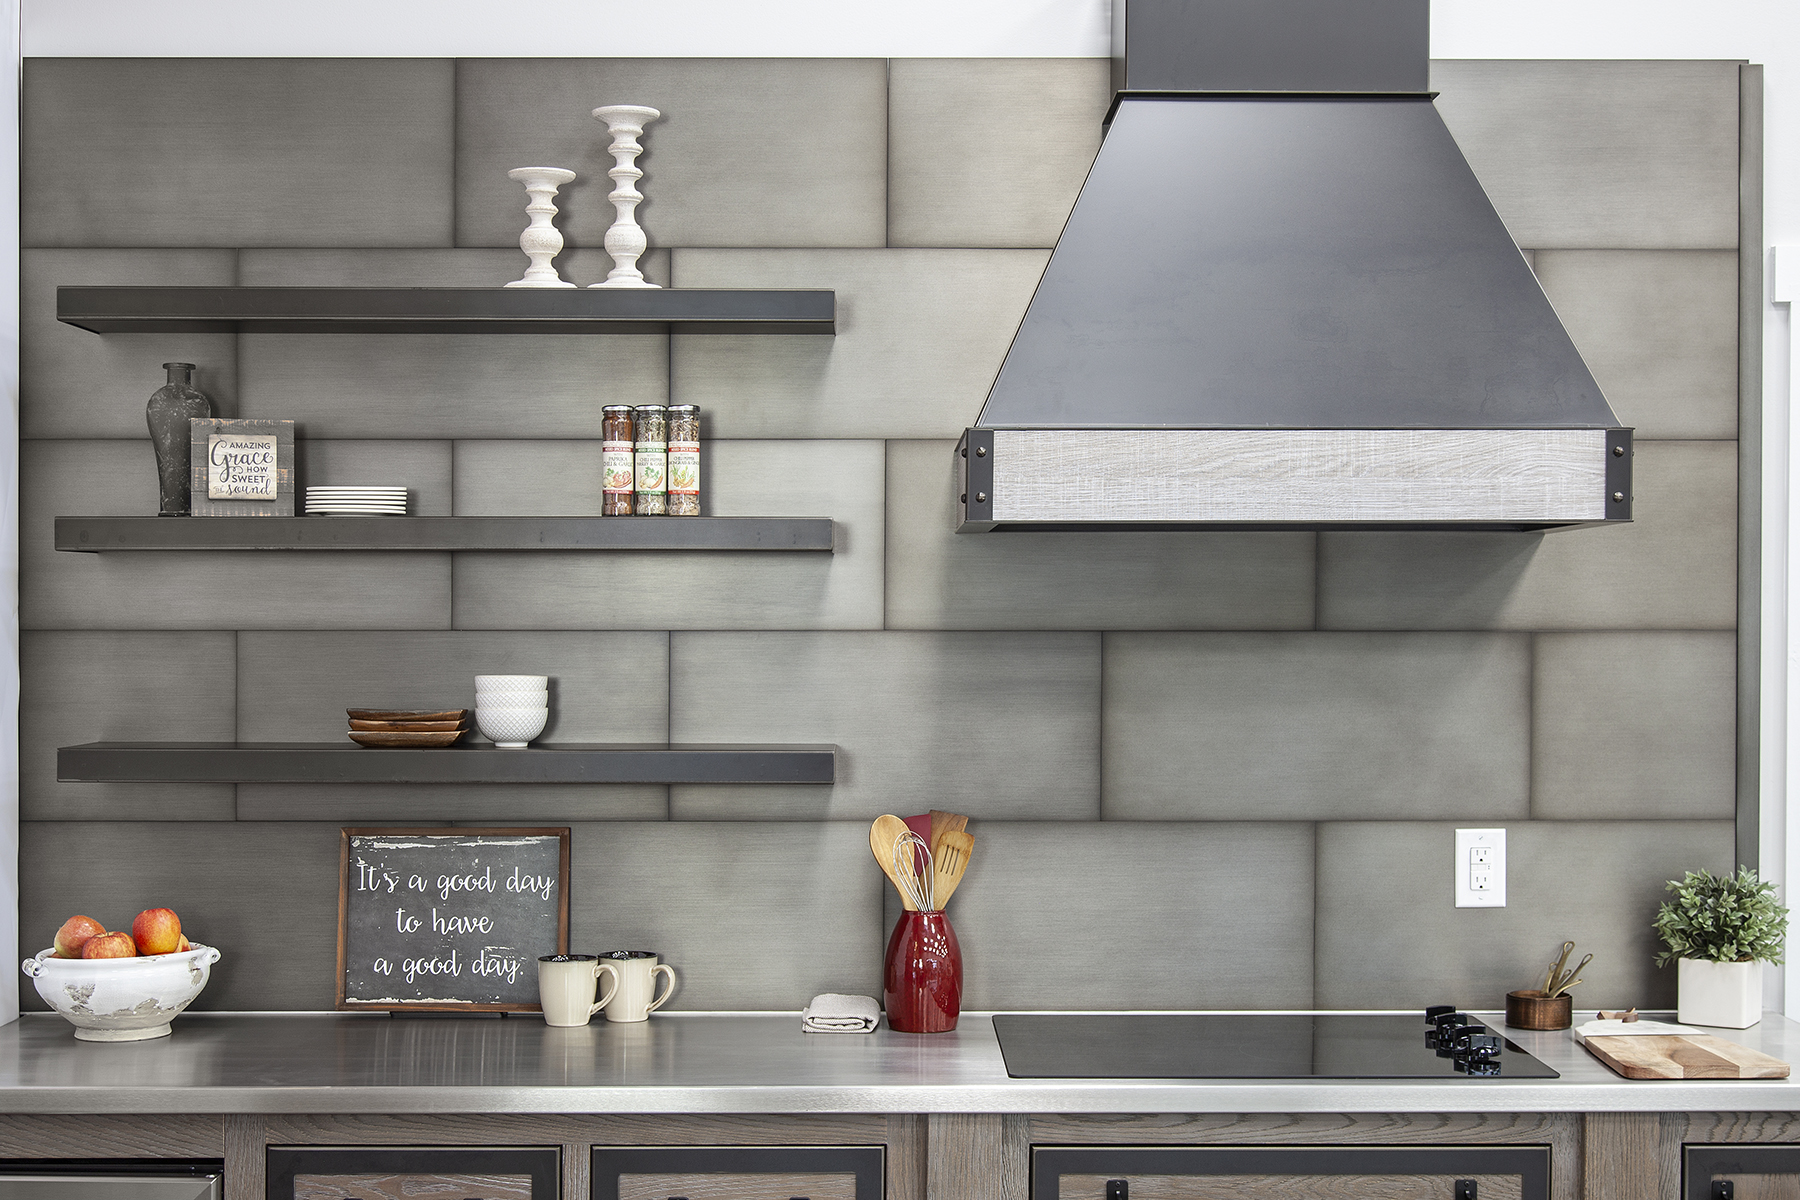
The metal vent hood looks horrible as it industrializes the appeal of a kitchen. The cluttered look of it disrupts the design flow and the continuity of the cabinets and walls. But what can you do? The normal range hoods are already costly, and purchasing a cover to conceal them is even more expensive. We claim to construct a DIY range hood cover on your own. A fitted range hood cover will suit all your design needs and will enhance the functionality of the metal vent hood, and you can afford to retain it within your very own budget.
This custom made range hood cover gives your layout and design of the kitchen a personal appeal. One of the reasons why making one is so much better than buying is its flexibility of design and limitless opportunities to customize it. In case you are a DIY lover and want to do something interesting over the weekend, then we can cover you.
Kaylee of The Simple Cozy Haven has tried this weekend project in her house, and the outcome is more than remarkable. Now, it is time to go into the tutorial on making a DIY range hood cover.
The DIY Range Hood Cover Materials
- Miter Saw
- Track Saw
- Drill
- Parallel clamps
- Framing square
- Half-inch plywood
- Brad nails
- Wood glue
- Joint compound
- Caulk
- Primer
- Roman clay
- Three-inch wood screws
How to Build Range Hood Cover
Measure Vent Hood
Do not miss this crucial step. Begin by accurately determining the height, width, and depth of the vent hood. This is necessary to know the actual size of your range hood cover and the amount of plywood you are going to use. Draw the side shape now with two side panels and one front panel in plywood by use of pencil, speed square, and straight edge.
Cut the Panels
When you have completed outlining, glue the two pieces of plywood and cut them. It maintains the same shape and is time-saving. Prepare a front panel also, which will be the front side of the range hood cover.
Assemble Hood Cover Frame
Begin by gluing the plywood pieces together, which have been cut, and use wood glue to hold them together. Brad nails are used to fix the wooden structure. In order to cover the front face fully, cut more plywood boards and attach them to the wooden structure in the same process.
Smooth and Sand the Surface
After working on your wooden structure, you will see the holes in nails, plywood edges, seams, and gaps. Apply joint compound to the nail holes, plywood edges, and caulk to the seams and gaps. Once the filler is dry, sand the whole structure to even out the surface.
Stick Primer and Roman Clay Finish
Sand after which an all-over coat of primer is applied to the whole wooden structure. Take a putty knife and apply Roman clay on the cover of the range hood. Remember to put two coats on so as to obtain a plaster-like smoothness.
Install White Oak Trims and Attach
The range hood cover will be made with white oak trims that will provide it with a high-end designer appearance. Fix the trims with the help of wood glue and fasten them with brad nails. At this point, take the cover of the hood carefully and move it over the vent hood that is already in place. Screw the hood cover to the firm to the two points by the four-wall frame and seal the holes of nails with filler. Clean up the kitchen and have fun with your home-built designer range hood covering.
Final Word
The DIY range hood cover can be built only with the help of $150. The whole procedure is not so difficult, and only a day or two are needed to complete it. This project may be done on your weekend with the assistance of the above-mentioned tools and procedure. The whole project can be done by yourself, but you may require assistance when it comes to installation.
You have the ability to customize your self-assembled range hood cover in any way you wish to make it fit your kitchen style. The cover will not only make your kitchen look good in terms of design and layout, but it also comes with functional advantages.